This is starting to feel like a lot of steps.
Essentially you’re going to start with a squared up piece for each slat, wide enough to encompass the shoulder contact outline and also thick enough to allow for the belly of the curve. There’ll be 3 different widths needed to make up the 6 slats. You want to mark the tenon shoulders off of one common reference piece to make sure each slat is exactly the same length.

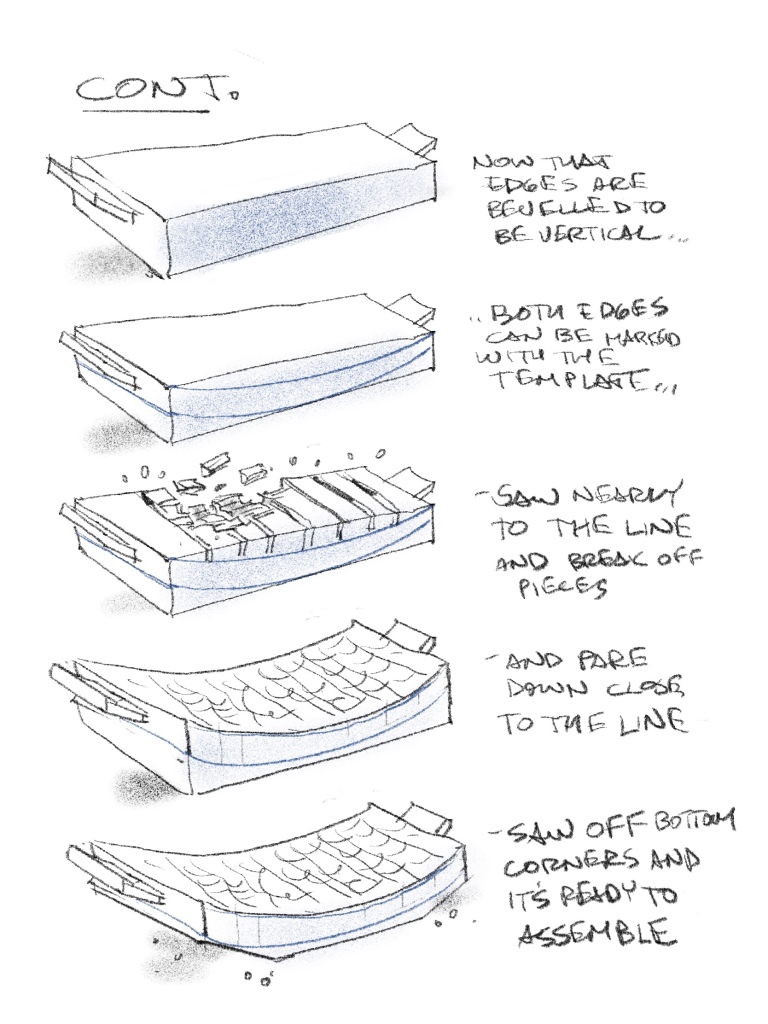
If we orient it like it’ll be in the seat frame, the beveled edge becomes a vertical face and now the template can be used to mark the curves.
So back to “real life” for a test fit.


You can see the slats are all at various stages of completion. Everything was disassembled to continue the rough shaping. The bottom sides of the slats were done with a block plane.
Another test fit with the legs added.
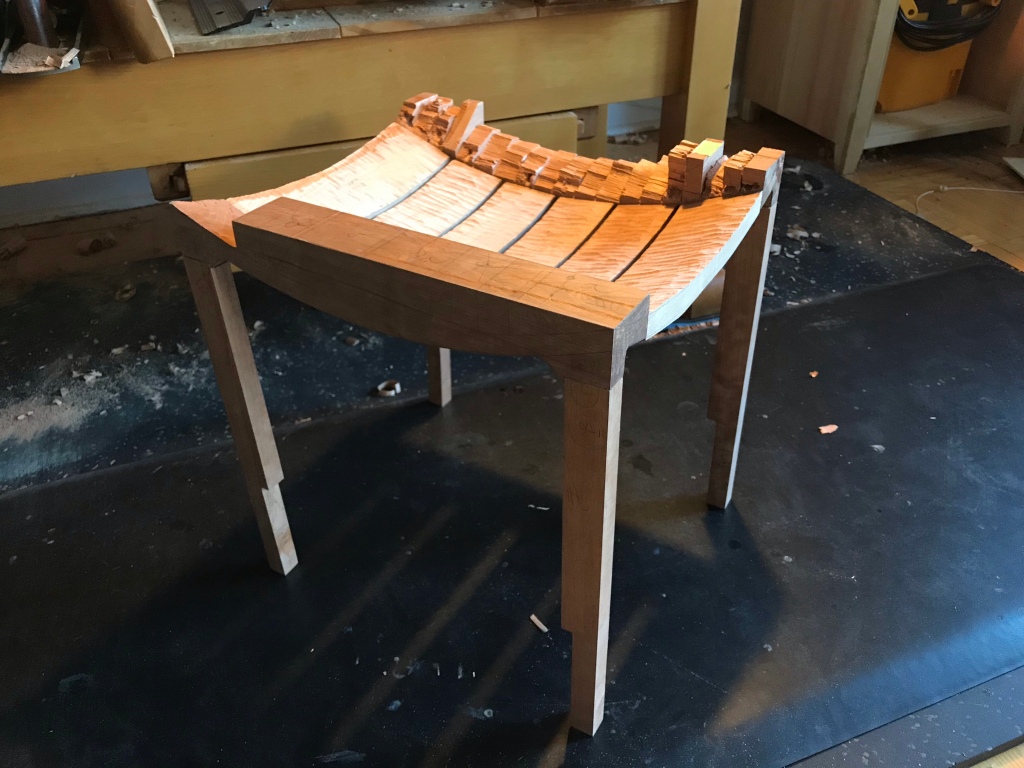
The legs bottom ends have been squared narrow for executing the stretcher mortises. They begin to taper slightly wider above that point.
I left 4 sections of the top surface intact so that I’d be able to lay it flat on the table during glue up and know that it wasn’t twisted.

After glue up, the bottom side of the seat is ready to be final shaped with a rasp and scraper. All the curved lines that were scribed around the seat and slats are still visible and serve to guide the final shaping.

The top side was done with this tiny compass plane (it has a convex sole) and a curved cabinet scraper. A bigger plane would’ve been easier on the fingers.

The seat now has it’s final surface. The legs have their final shape too but haven’t been glued yet.

It’s starting to look like EA2476.
Next instalment is the lattice bracing and it’ll be done.
